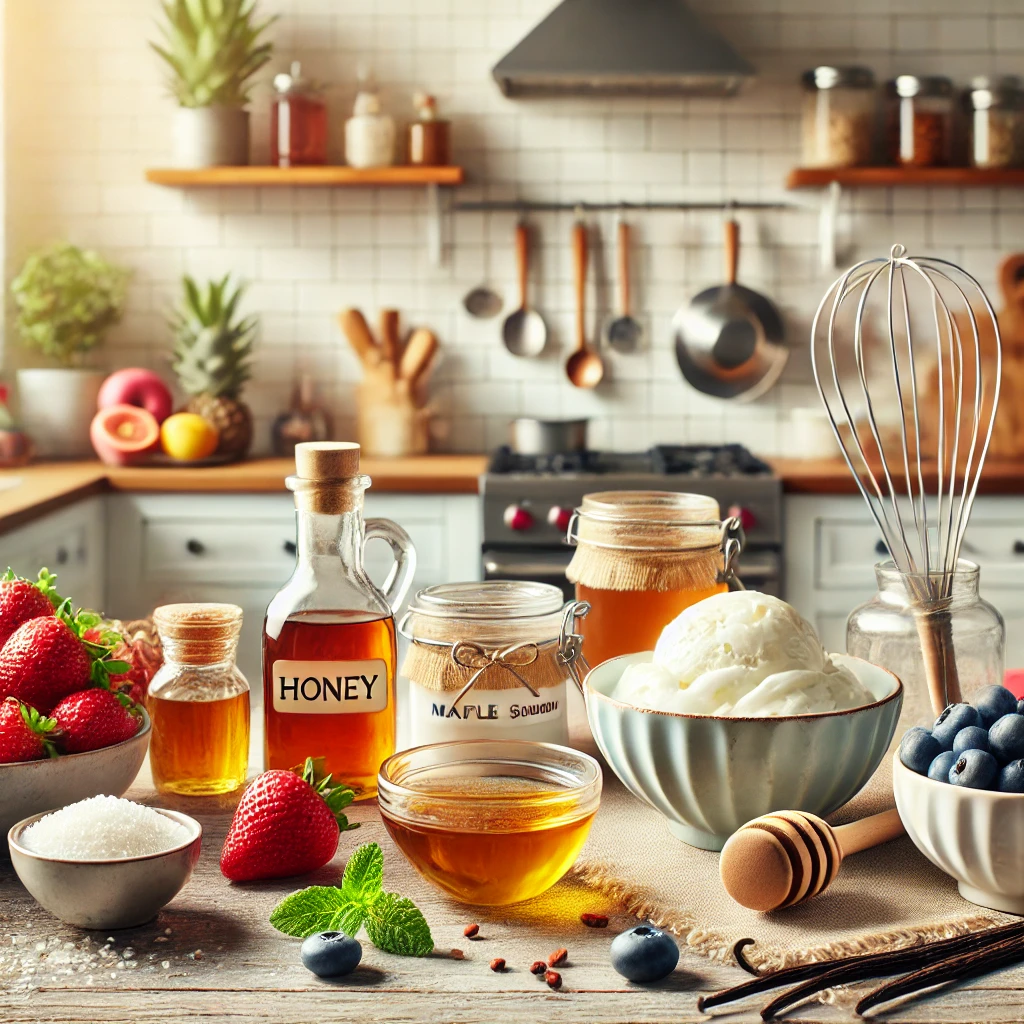
Discover the best sugar for ice cream recipes. Learn the best sugar practices for perfect ice cream.

Ice cream making is both an art and a science, involving steps transforming basic ingredients into a creamy, delightful treat enjoyed worldwide. Whether you’re a home enthusiast or a commercial producer, the process offers a variety of methods and techniques tailored to different scales of production and preferences.
Understanding the diversity of ingredients and the specific techniques involved is crucial for domestic and commercial ice cream makers. Key ingredients typically include dairy or dairy alternatives, sugar, eggs or ice cream stabilizer mix and an array of flavoring extracts. Depending on the desired texture and dietary requirements, makers might choose traditional eggs or modern ice cream stabilizers that help enhance the body and preserve the final product’s texture.
Pasteurization plays a pivotal role in ensuring the safety and enhancing the flavor profile of the ice cream. This process kills harmful bacteria and helps stabilize and blend the flavors, creating a smoother, more homogenous mixture.
Creating exceptional ice cream begins with selecting the right ingredients. The base ingredients typically include dairy products like milk and cream, sweeteners like sugar, and various high-quality flavouring extracts that define the ice cream’s taste. Each component is vital to the final product’s texture, flavor, and overall success.
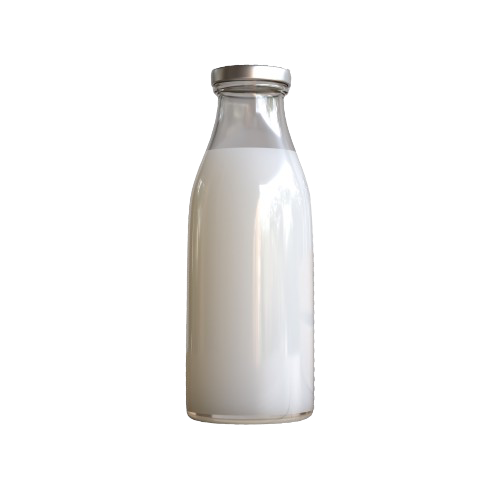
Dairy: Milk and cream are foundational to traditional ice cream. The fat content in cream contributes to the creamy texture, while milk provides the necessary liquid base. For those seeking non-dairy alternatives, options like coconut, almond, or soy milk are popular.
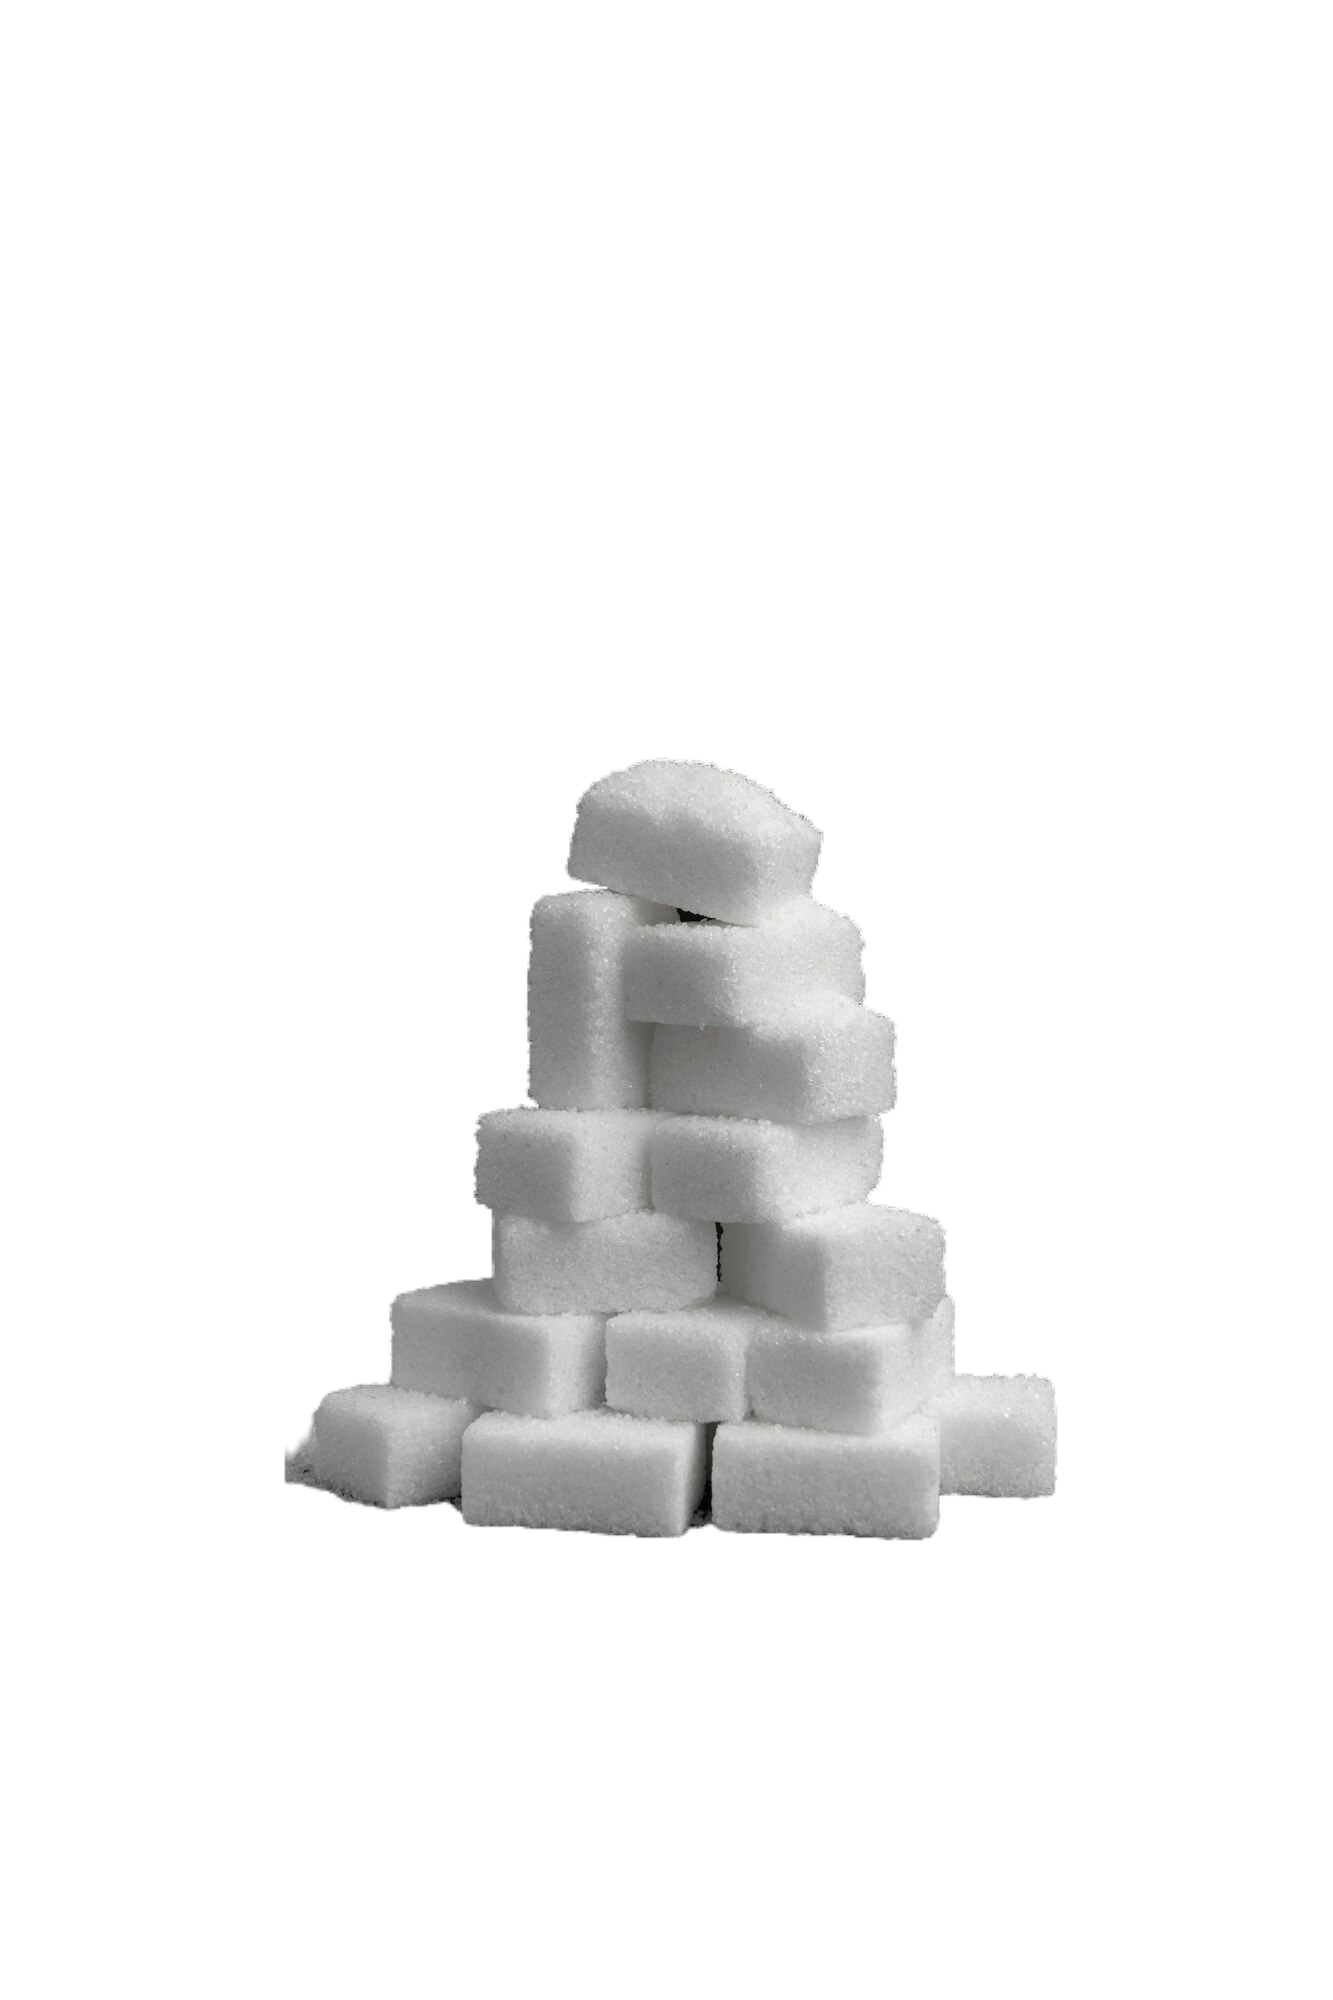
Sugar Acts as a sweetener and plays a crucial role in lowering the mixture’s freezing point, which aids in achieving a softer texture.
Flavoring Extracts: Quality matters when flavoring extracts, whether infusing your ice cream with vanilla, chocolate, fruit, or more exotic flavors. High-quality extracts provide more natural and robust flavors.
Eggs: Traditionally used in custard-based ice creams, eggs help to create a richer texture and color. The yolks contribute fat, which improves creaminess, and act as emulsifiers, stabilizing the mixture and helping it stay smooth during freezing.
Ice Cream Stabilizers: Many modern ice cream recipes use stabilisers such as guar gum or carrageenan, especially those that need to remain stable over time or under varying temperature conditions. These ingredients help prevent ice crystal formation and maintain the desired texture without using eggs. They are ideal for vegan recipes or those with egg allergies.
Consider Your Audience: The choice of ingredients can depend on your target audience’s dietary preferences or restrictions. For instance, organic dairy and sugar can appeal to health-conscious consumers. At the same time, exotic flavors may attract those seeking a unique taste experience.
Quality over Quantity: Opt for the highest-quality ingredients. The quality of milk, cream, and primary flavor agents directly influences the richness and appeal of your ice cream.
Experimentation: Don’t hesitate to experiment with different combinations of milk, creams, and stabilizers to find the perfect balance that works for your specific type of ice cream, whether it’s a creamy traditional vanilla or a vibrant sorbet.
Understanding these ingredients and their roles enables home enthusiasts and commercial producers to craft delicious, high-quality ice cream that caters to various tastes and dietary needs. By starting with the best possible base components and knowing how to use them effectively, you can enhance the flavor and texture of your ice cream creations.
Pasteurization is a critical process in the production of ice cream, essential for ensuring both the safety and quality of the final product. This heat treatment destroys potentially harmful bacteria and helps stabilize the mixture, resulting in a smoother, more homogenous product.
Understanding Pasteurization: Pasteurization involves heating the ice cream mix to a specific temperature for a set period before quickly cooling it down. This process effectively kills pathogens and deactivates enzymes that could cause spoilage or off-flavours, ensuring the safety of the ice cream. Additionally, pasteurization helps unfold proteins and fats within the mix, which can then better interact with other ingredients, improving texture and flavor fusion.
Safety: By eliminating harmful microorganisms, pasteurization makes the ice cream safe for consumption.
Flavor Enhancement: The heat treatment allows for better flavor fusion, as it helps sugars and fats blend more uniformly with other ingredients.
Texture Improvement: Pasteurization changes the structure of proteins and fats, making them more effective at trapping air and moisture enhancing the ice cream’s creamy texture.
At Home:
Prepare the Mix: Combine your ice cream ingredients—typically milk, cream, sugar, and flavors—in a large saucepan.
Heat Gradually: Slowly heat the mixture to 165°F (74°C), stirring constantly to ensure the ingredients are well combined and the sugar completely dissolves.
Hold the Temperature: Maintain this temperature for at least 15 seconds to kill bacteria effectively.
Rapid Cooling: To prevent bacteria from developing, immediately remove the mixture from heat and cool it down as quickly as possible to about 40°F (4°C) using an ice bath or the pasteurization machine in a commercial setting.
Refrigerate: Once cooled, cover the mix and refrigerate it until it’s completely chilled, ideally below 40°F (4°C).
In a Commercial Setting:
Large Batch Preparation: Ingredients are combined in large vats equipped with high-precision heaters.
Controlled Heating: The mix is heated to about 185°F (85°C) for at least 25 seconds, using automated systems to ensure consistent temperature.
Homogenization: Post-pasteurization, the mix is often homogenized to further break down fat molecules and improve texture.
Rapid Cooling and Aging: The mix is then quickly cooled using commercial chillers and left to age overnight to enhance flavor development and texture.
Storage: The pasteurized mix is stored in sanitary conditions until it is ready to be frozen.
By following these steps, whether at home or in a commercial environment, you can ensure that your ice cream base is safe to consume and has the best possible texture and flavor profile. Pasteurization, though it may seem like a mere safety step, is a transformative process that significantly enhances the overall quality of ice cream.
Mixing and homogenization are fundamental stages in the production of ice cream, affecting everything from texture to flavor integration. This section explores how these processes work and why they are crucial for creating high-quality ice cream.
Mixing Process: Mixing is the initial step where all the base ingredients — milk, cream, sugars, stabilizers, and flavourings — are combined. Proper mixing is essential to ensure that the dry and liquid ingredients are uniformly distributed before further processing. This step is vital for achieving consistency in taste and texture throughout the batch.
Home Mixing: At home, ingredients are typically mixed using standard kitchen tools like whisks or hand mixers. At this stage, ingredients must be combined slowly to avoid incorporating too much air.
Commercial Mixing: In commercial settings, large-scale industrial mixers blend larger quantities of ice cream efficiently. These mixers can handle greater volumes and ensure that the mix is uniform, which is crucial for maintaining quality in mass production.
Homogenization: Following mixing, homogenization is a mechanical process that further refines the ice cream mix by breaking down fat molecules and evenly distributing them throughout the mixture. This step is crucial for several reasons:
Smoother Texture: Homogenization prevents fat molecules from clustering, leading to a softer and creamier texture in the finished product.
Improved Air Incorporation: By ensuring that fat globules are uniformly small, homogenization facilitates the even distribution of air during the freezing process. This results in a softer, lighter ice cream.
Enhanced Stability: Smaller fat globules provide better emulsion stability, reducing the likelihood of separation during storage and improving the overall shelf life of the ice cream.
Home Homogenization: At home, the homogenization process is typically achieved to a lesser degree with standard blenders or mixers. While not as effective as commercial techniques, careful mixing can produce a reasonably smooth texture.
Commercial Homogenization: Commercial producers use specialized homogenization equipment that exerts high pressure on the ice cream mix. This pressure ensures that the fat globules are broken down to a much smaller size than what can be achieved with home equipment, leading to a superior texture and consistency.
Understanding the importance of thorough mixing and effective homogenization helps home and commercial ice cream makers produce a product that is not only delicious but also visually appealing and texturally satisfying. Producers can ensure their ice cream meets high-quality standards and consumer expectations by investing time in these stages.
Ageing the ice cream mix is a critical step often overlooked in ice cream-making. This phase involves resting the mix at cold temperatures before churning it into ice cream. The aging process allows the ingredients, particularly the fats, emulsifiers, and stabilizers, to interact and bind together, enhancing the final product’s texture and flavour.
Texture Enhancement: During aging, the fat in the mix absorbs adjacent water molecules, which helps stabilize the air cells introduced during the freezing process. This stabilization contributes to a creamier and more cohesive texture in the finished ice cream.
Flavor Development: Aging allows the flavors to meld and mature, deepening and enriching the taste experience. It also gives time for any volatile unwanted flavors, often from pasteurization, to dissipate.
Improved Viscosity: The interaction between stabilizers and the liquid base during aging increases the viscosity of the mix. This thicker mix traps air more effectively during freezing, leading to a lighter, more palatable texture.
Home Production: For domestic ice cream makers, the mix should be aged for at least 4 hours, although overnight aging (about 8-12 hours) in the refrigerator can lead to even better results.
Commercial Production: In commercial settings, the mix is typically aged for 24 hours. This extended ageing period allows for optimal texture and flavour development, which is essential for maintaining consistency in large-scale production.
Temperature Control: The mix should be aged at about 4°C (39°F). This temperature slows down any bacterial growth that could spoil the mix. It ensures that the fats remain in the right condition to interact with other ingredients.
Cover the Mix: The ageing container should be covered tightly to prevent the absorption of odors from other foods and to avoid contamination.
Stir Occasionally: Stirring the mix a few times during the aging process can help ensure that the stabilizers and emulsifiers are well-distributed throughout the mix. However, excessive stirring should be avoided as it can disrupt the maturation of the fat structures.
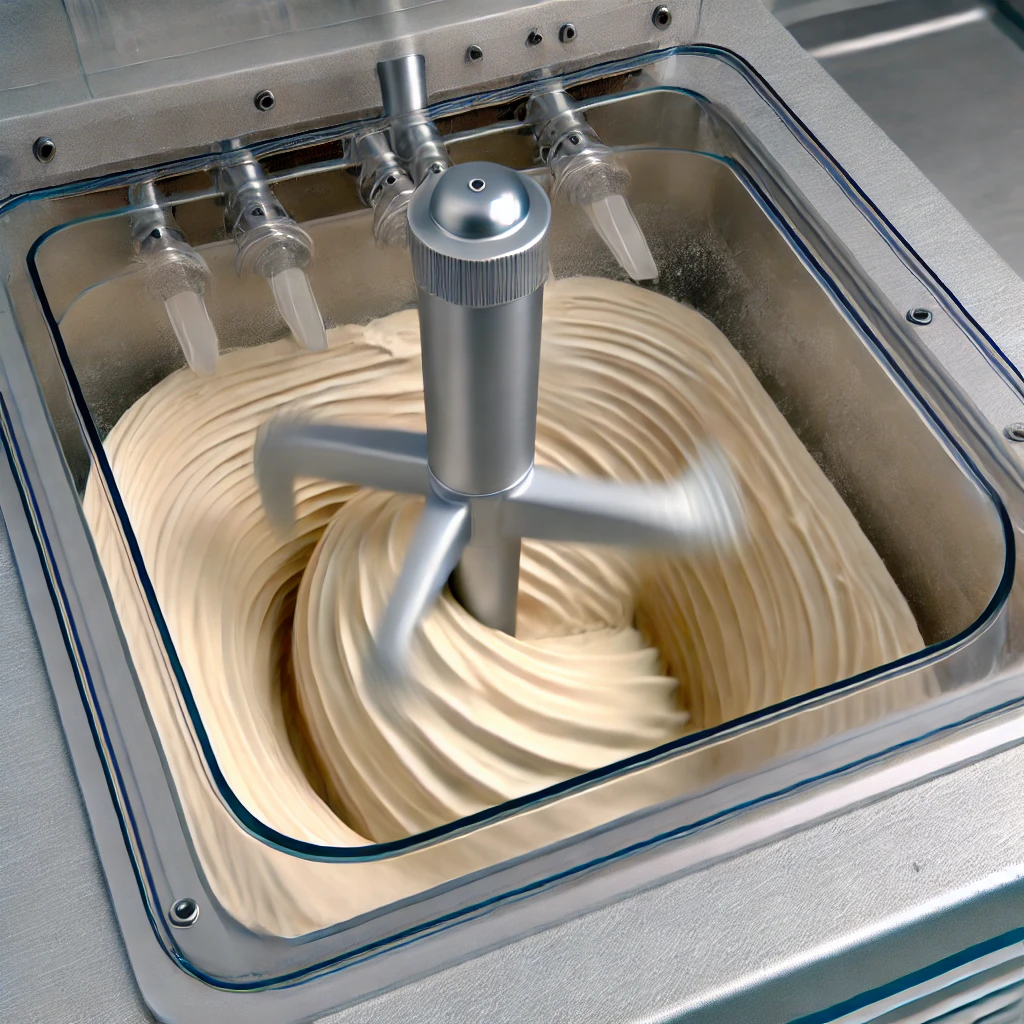
Freezing and churning are pivotal stages in the ice cream-making process, transforming the prepared and aged mix into the final creamy delight. This phase not only cools the mix but also incorporates air, crucial for achieving the light and smooth texture characteristic of good-quality ice cream.
Churning: As the ice cream mix is slowly frozen, it is churned to incorporate air. This mechanical action breaks up ice crystals as they form, promoting smaller ice crystals and preventing the ice cream from becoming too hard. The churning also distributes the fat, air, and ice in an even emulsion, essential for a smooth texture.
Freezing: The mix gradually freezes during the churning process, usually just to the point of becoming a thick, soft-serve consistency before it is transferred to a freezer to harden further. This careful balance ensures that the mix does not freeze too quickly, which can lead to large, unpalatable ice crystals.
Incorporation of Air (Overrun):
Role of Air: Air is crucial in churning; it is whipped into the mix to increase its volume, referred to as overrun. This incorporated air prevents ice cream from being a solid block of ice, giving it a lighter texture that can be quickly scooped.
Effect on Texture: The amount of air incorporated affects the ice cream’s body, texture, and mouthfeel. Too little air can make the ice cream excessively dense and hard, while too much can make it too airy and quick to melt.
Domestic Ice Cream Makers: Home ice cream machines generally churn at a slower speed, meaning the air incorporation is less controlled than commercial machines. These machines are excellent for making smaller batches and typically freeze the mix using a pre-frozen insulated bowl or a built-in freezer unit.
Commercial Ice Cream Machines: In a commercial setting, machines are designed to handle larger volumes and offer more precise control over the freezing and churning processes. These machines often use continuous freezers, churning the mix at controlled temperatures and speeds, allowing optimal air incorporation and texture consistency. Commercial machines can process the mix from liquid to frozen in minutes, making them ideal for high-volume production.
Efficiency: Commercial machines are more efficient at incorporating air uniformly due to their powerful motors and sophisticated design.
Quality Control: Commercial producers can finely tune the texture and firmness of the product more, thanks to advanced settings that adjust the churning speed and temperature.
Understanding the nuances of freezing and churning is essential for anyone involved in ice cream production. By mastering these techniques, home enthusiasts and commercial manufacturers can produce high-quality ice cream that boasts the perfect texture and flavor, tailored to their specific production needs.
Once the ice cream has been churned and frozen, proper storage is crucial to maintaining its freshness, texture, and flavour integrity. Whether you’re storing ice cream at home or in a commercial setting, understanding the best practices can make a significant difference in preserving the quality of your product.
Temperature Consistency: Ice cream should be stored at a consistent temperature of -20°F (-29°C) or colder. Fluctuating temperatures can cause ice crystals to form on the surface, leading to freezer burn and a grainy texture.
Deep Freezing: After churning, ice cream should be transferred to a deep freezer for rapid hardening. This quick freeze helps minimize the size of ice crystals, ensuring a smoother texture.
Airtight Containers: Store ice cream in airtight containers. Exposure to air not only causes freezer burn but can also absorb odors from other foods stored in the freezer.
Home Storage: Ice cream is typically stored at home in free-standing freezers or refrigerator freezer compartments. Home storage should focus on using well-sealed containers or special ice cream storage tubs that can protect the ice cream from air exposure and flavour cross-contamination.
Commercial Storage: Commercial operations often use dedicated freezers to maintain very low temperatures. These freezers are typically chest or walk-in types that provide more consistent cooling and are better insulated against temperature fluctuations. Commercial producers may also use blast freezers to quickly bring down the temperature of freshly churned ice cream.
Proper Packaging Material: Use moisture-resistant materials designed for freezer storage. Heavy-duty aluminum foil or freezer-specific plastic bags can be effective for home use. Commercially, bulk ice cream is often stored in large, sturdy tubs with secure lids.
Minimize Exposure to Air: Limit the time ice cream is exposed to air. Always seal containers tightly after each use. For tubs used in commercial settings, press a sheet of plastic wrap directly onto the surface of the ice cream before closing the lid to add an extra barrier against air.
Regular Rotation: In commercial operations, practice FIFO (First In, First Out) to ensure older batches are used before newer ones. Regularly rotating stock prevents the ice cream from developing ice crystals and losing flavor due to prolonged storage.
By adhering to these storage guidelines, home and commercial ice cream makers can significantly extend the shelf life of their ice cream, maintaining its quality and deliciousness for as long as possible. Proper storage enhances the eating experience and ensures that every scoop meets customer expectations, whether served at home or sold in a commercial venue.
Making ice cream can sometimes be as tricky as it is delightful. Understanding how to identify and resolve common issues can greatly improve your ice cream-making experience and ensure high-quality results. This section offers solutions to typical problems encountered during the ice cream-making process, along with advice on how to adjust recipes and techniques for better outcomes.
Ice Crystals Formation:
Problem: Large or excessive ice crystals can make ice cream grainy or icy.
Solution: To promote tiny, uniform ice crystals, ensure the mix is cooled quickly and churned at the correct speed. Also, check that the freezer is at the appropriate temperature (around -20°F or colder).
Overrun Issues:
Problem: Too much air can make the ice cream too fluffy or light, while too little can make it too dense.
Solution: Adjust the speed of the churning process. Higher speeds incorporate more air, and slower speeds reduce air incorporation. Check your equipment to ensure it is working correctly.
Flavor and Texture Imbalances:
Problem: Flavors are too mild, or the texture is off (either too hard or too soft).
Solution: If the taste is too mild, increase the intensity of the flavorings. For texture issues, adjust the ratios of fat, sugar, and solids in the recipe. More fat generally softens ice cream, while more sugar lowers the freezing point, making it softer.
Freezer Burn:
Problem: Ice cream surface becomes dehydrated, forming frost and ice crystals.
Solution: Minimize exposure to air by covering the surface of the ice cream with plastic wrap before sealing it with a lid. Ensure the storage container is airtight.
Separation of Ingredients:
Problem: Ingredients like fats or flavor syrups separate from the base.
Solution: Ensure all components are well-emulsified and stabilized before freezing. If an emulsifier or stabilizer is not already used, consider adding one.
Advice on Adjusting Recipes and Techniques:
Recipe Formulation: If persistent issues arise with texture or flavor, revisit your recipe formulation. This might involve tweaking the amounts of key ingredients or altering the process of incorporating additives like stabilizers or emulsifiers.
Trial and Error: Sometimes, perfecting an ice cream recipe requires a bit of experimentation. Make small adjustments and document the changes and results to understand what works best for your specific setup and taste preferences.
Equipment Calibration: Regularly check and maintain your ice cream-making equipment. Proper calibration can solve and prevent various mechanical issues that might affect the final product.
By becoming adept at identifying and solving these common ice cream-making issues, you can consistently produce smooth, creamy, and delicious ice cream. This troubleshooting guide ensures that every batch reflects your culinary skill and understanding of the complex but rewarding process of making ice cream.

Discover the best sugar for ice cream recipes. Learn the best sugar practices for perfect ice cream.

Discover the best sugar for ice cream recipes. Learn the best sugar practices for perfect ice cream.
Discover the best sugar for ice cream recipes. Learn the best sugar practices for perfect ice cream.
The secrets of ice cream overrun to improve texture, quality, and profitability. Tips for optimizing overrun in ice cream production.
High-quality whole milk and cream serve as the foundation of your ice cream but significantly influence its flavor, texture, and…

These easy-to-make crumbs bring the fun of a birthday cake to any treat. Learn how to whip up this playful…